Step 1: Figure out your current fitness, strengths and weaknesses
In order to do this, there’s two approaches you can take. Firstly you can just do a critical power or 4DP test, some means of testing your anaerobic system and your aerobic system or you can go to a lab and check your VO2 max, VLA max and lactate thresholds. The former is more accessible to most riders. Critical power is typically assessed using efforts of different durations. Common durations include 3 minutes, 5 minutes, /and 20 minutes. The goal is to choose durations that span the range from anaerobic to aerobic efforts in order to assess the effectiveness of both these systems.
Interpreting the results of these tests will allow you to understand what kind of rider you are – punchy, diesel, sprint-type etc. This will give you an idea as to how you should train, if you’re extremely good at anaerobic efforts then you’ll likely want to do some sweet-spot training to reduce VLA max, if your anaerobic capacity is poor then you might want to work on VO2 max for example.
Ultimately, many riders are limited by their ability to put out power over certain durations and training is the only way to address this.
Step 2: Get aero

Calculating the energy lost to air resistance when cycling at a certain speed involves several factors, including the cyclist’s frontal area, coefficient of drag, air density, and the square of the velocity. The formula for air resistance force includes a term with velocity squared included – this means as the speed increases, the drag force contribution increases by the square of the speed increase.
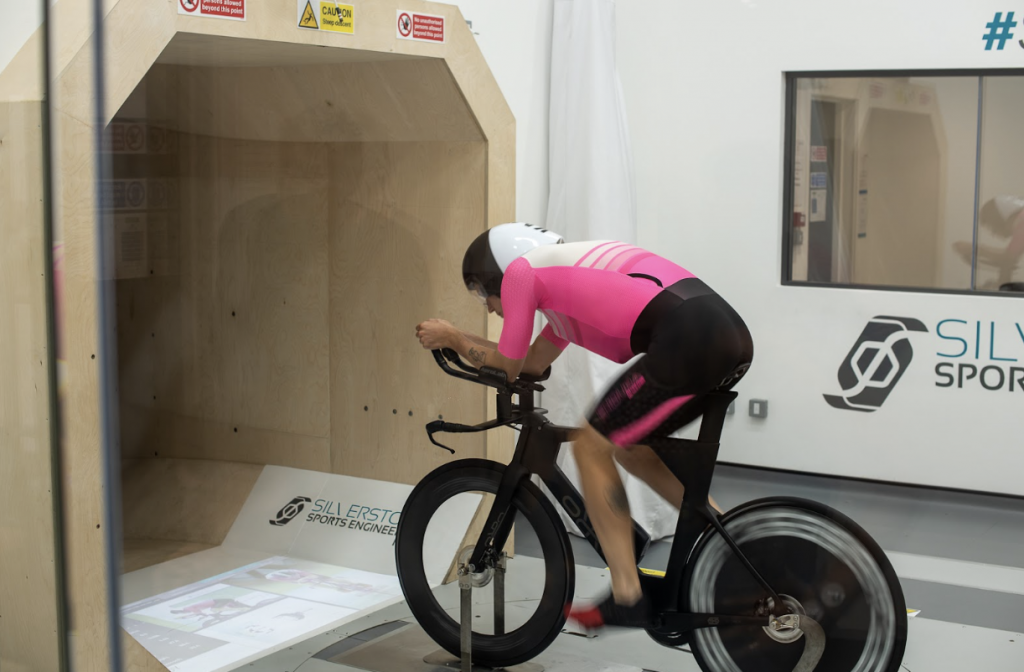
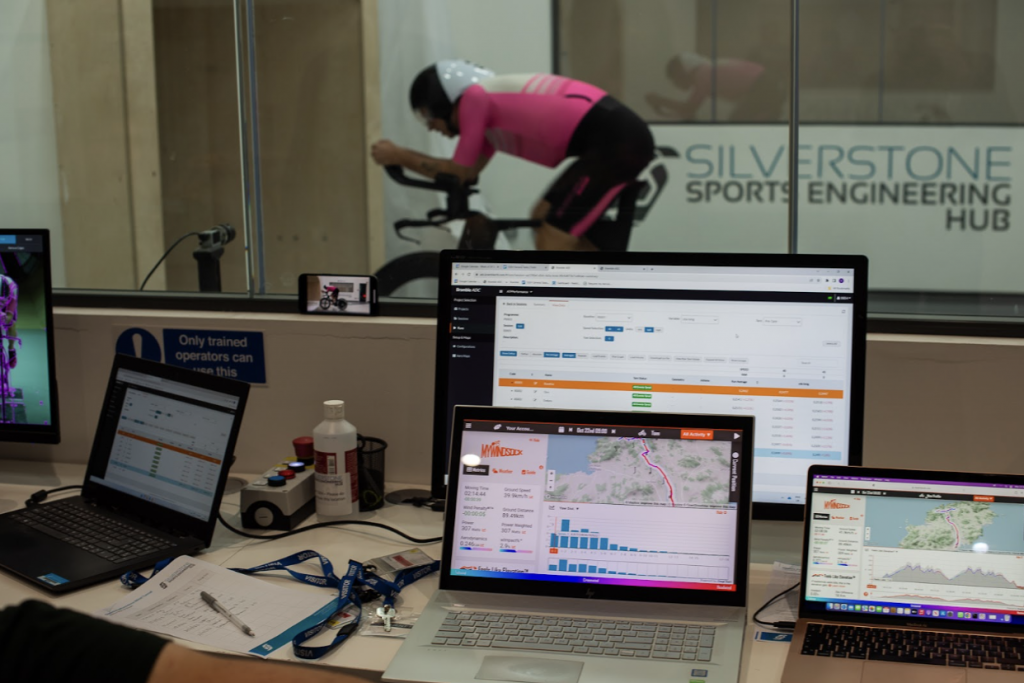
Aerodynamics are extremely important for time trial performance, this is known. Seeing how aero you currently are is another factor. Premium members with power meter data can easily access Aero field testing within myWindsock by either reviewing their Strava Activity Weather or uploading a TCX file. Even though we provide an aero field testing feature, this can be tricky in winter (as it requires a calm day) so you might want to head to a wind tunnel or a velodrome.
Step 3: Pick a fast course
A fast time trial course is characterised by flat or gently rolling terrain, straight roads, and smooth pavement. Favourable tailwinds, wide turns, and fewer elevation changes contribute to a faster pace. Familiarity with the course aids effective planning. Essentially you need a relatively flat course, on a good day with few turns. The problem is, this combination is actually surprisingly rare. If only there was a tool that allowed you to inspect the topography and weather of every course that’s available on Cycling Time Trials…

All cycling time trial courses are available to view on myWindsock! We also publish regular blogs and social media posts looking into the details of individual courses so keep your eyes peeled. Sign up here.

 UK Time Trial Events


